Setting up a Raspberry Pi and Installing an OS
Get a basic system setup on your Raspberry Pi before you use it as a home media server
The Raspberry Pi is small computer that is available for about $40. It has all the things you would expect from a computer - a CPU, RAM, secondary storage, USB ports, an ethernet port, and HDMI connection. Except it's about the size of a credit card. Most things that you do on your normal computer, you can do on a Raspberry Pi, although doing things that take a lot of computing horsepower, like video editing, are probably off limits. But the Raspberry Pi makes a great computer for a simple home media server. It has more than enough computing power for the job and is much more energy efficient that other more complicated servers.
Things you will need
To get started with a Raspberry Pi you will need a couple things:
- A Raspberry Pi
- A power cord and adapter
- A micro SD card
- A USB mouse and USB keyboard**
- An HDMI cable**
- An Ethernet cable**
**These things are not strictly necessary. You can control the Raspberry Pi completely from another computer without having the Raspberry Pi connected to a mouse, keyboard or screen. This is for advanced users though. We are going to keep it simple. You can also forgo the ethernet wire and connect to your network using WiFi, but we recommend Ethernet for best results.
Raspberry Pi
There are several different models of the Raspberry Pi available. The newest model is the Raspberry Pi 4. The RPI4 comes in a few different flavors with varying amounts of RAM. If you are just using the Pi as a home media server, having more RAM is not that important and you'll be with fine with the 2GB model. There are a few other differences between the RPi3 and RPi4. The RPi4 has USB3 ports instead on only USB2 on the RPI3. A external hard drive will likely have better read/write speeds with USB3. The RPI4 is powered with a USB C port whereas the RPI3 uses a micro USB for power. Finally the RPI4 uses microHDMI to connect to a monitor, whereas the RPI3 uses a regular HDMI. Both the RPI3 and RPI4 will work fine as a home media server so you can't really go wrong with either.
| Raspberry Pi 3 | Raspberry Pi 4 | |
|---|---|---|
| RAM | 1 GB | 2, 4, or 8 GB |
| USB2.0 Ports | 4 | 2 |
| USO3.0 Ports | 0 | 2 |
| HDMI | HDMI 1.3 | micro HDMI x2 |
| Power Source | micro USB | USB type C |
Power Adapter
The power adapter you will need depends on whether you have an RPI3 or RPI4. RPI3 use a microUSB power charger. RPI4 use a USB type C power charger. The electrical current needs of the two also differ: 2.5A is recommended for RPI3 and 3A for RPI4. You may have adapters already to charge your phone that may work. You can look at the power adaptor to see how many amps it is. If it's less that what is recommended, it may still work but if the RPI keeps rebooting after you turn it on, you'll need to buy a better power adaptor. The RPI foundation have ones that they make specifically for the RPI if you need one.
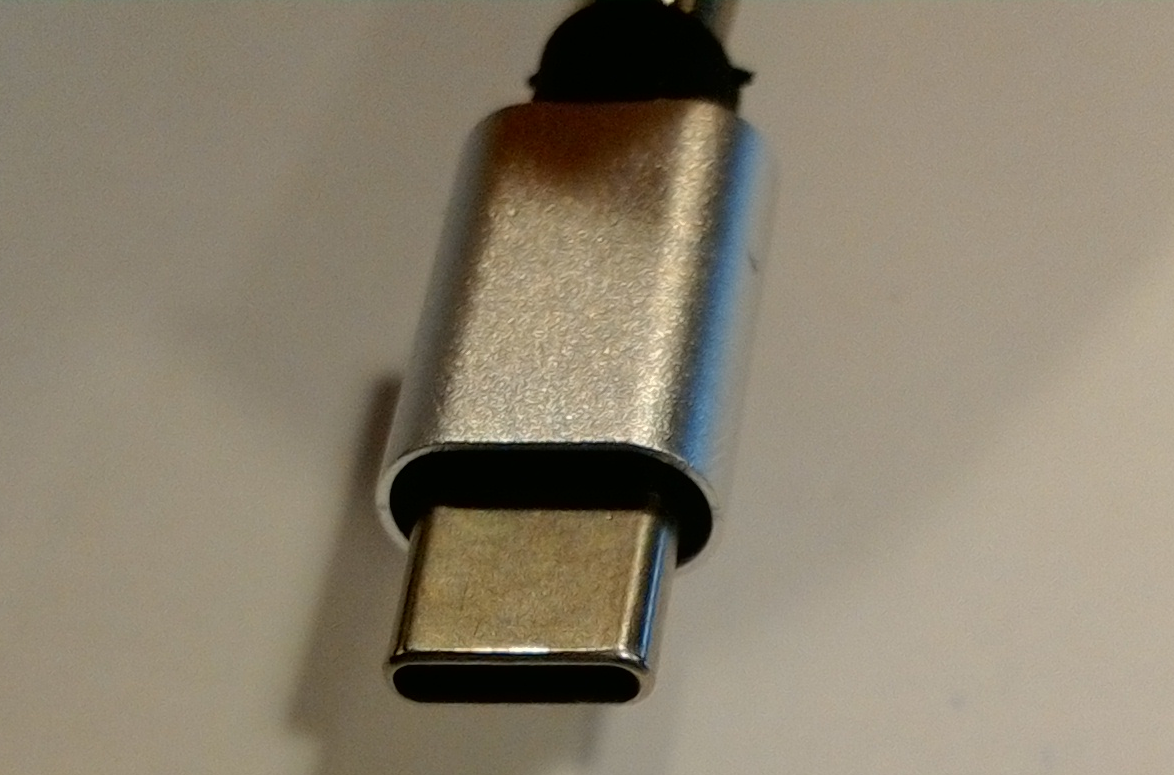
USB type C used to power an RPI4
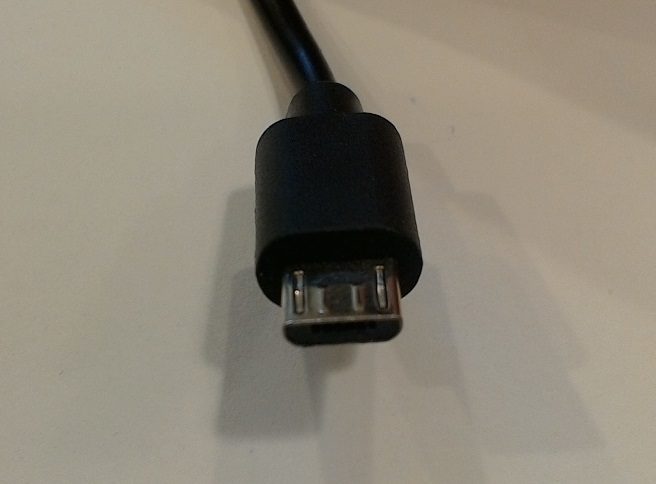
micro USB used to power an RPI3
MicroSD Card
The storage device that the RPI boots off of is the SD Card (although it can also boot off of USB nowadays). You don't need to go crazy buying a huge microSD card. 8 to 32GB will be fine for our purposes. You can try 4GB if that's all you have on hand but any less than that will be too small to fit the operating system on. You will also need an adapter to allow you to access the microSD from your computer. Most microSD that you buy will come with an adapter.
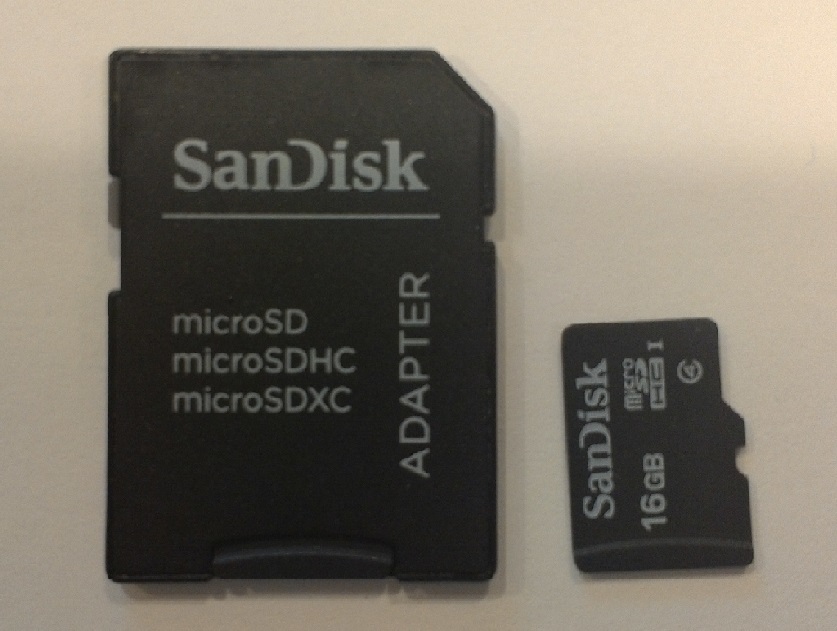
A micro SD Card and adapter
USB mouse and keyboard
If you have a desktop computer you can borrow the USB keyboard and mouse from that. We will only use these things to set up the server and then we won't need them after that.
HDMI
In order to be able to set up the server with a graphical interface on a screen you will need either an HDMI cable (for RPI3) or microHDMI cable (for RPI4). You can plug these into a TV or computer monitor to be able to see the RPI's desktop.
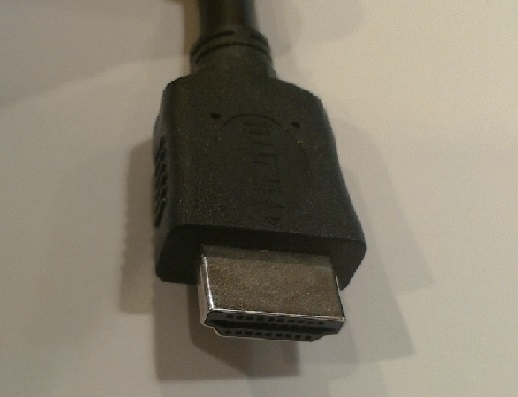
An HDMI Cable
Ethernet
If you don't have an ethernet cable you can always use WiFi to connect to the network but a wired ethernet connection will be faster and more reliable. Plus you probably have an old ethernet cord lying around somewhere.
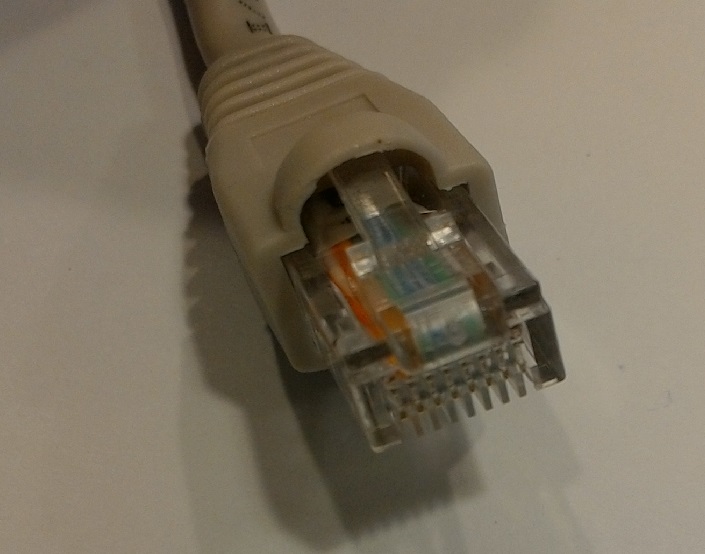
An Ethernet Cable
Install the Raspberry Pi Imager
Now that you have everything, the next step is taking an image file of the Operating system and putting it on your SD Card. This is not as simple as taking a file and moving it to your SD Card. The reason is that its not a normal file, its a disk image. When you have a storage device (such as a hard drive, flash drive or SD Card), the disk itself does not just store the raw information of file. It has a bunch of other stuff too, like metadata about the file, directories, information about how big the file is, and much more. There are many different kinds of filesystems (FAT, NTFS, ext4) and they each store this information differently. On top of this, the drive may contain multiple filesystems, which is known as partitioning. The image that we want to put on the SD Card is not a file, it is a copy of the raw information to be stored on the SD Card, and it contains multiple partitions and filesystems. So you have to work with it a little differently.
The easiest way for a new user to get an image onto the SD Card is to use a free tool made by the Raspberry Pi Foundation, specifically to do this called the Raspberry Pi Imager. They make versions for Windows, Mac, and Ubuntu, so choose the one you need:
Once you download it, go through the installer and get it installed.
Put OS Image onto SD Card
Warning: This will delete everything else on your SD Card
Once you have the Imager installed, open it up. Insert the SD Card you want to use. Make sure you don't have anything that you want to save on the card because it will be wiped during this step.
The installer allows you to install a few different operating systems. The most common OS, and the one that you should do if you are a beginner is the "Raspberry Pi OS."
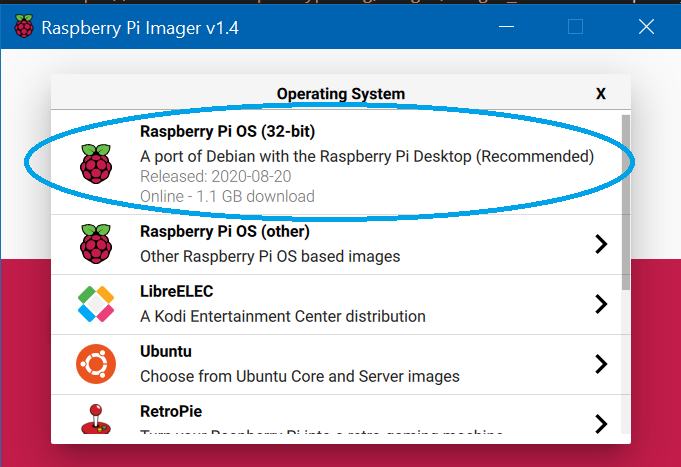
Select that one from the list of operating systems, select your SD Card from the list of SD Cards, and click "write." It will take a little while to copy everything over but once its done, your card is ready to go.
Plug all the Accessories into the RPi
The next step is to get all the hardware connected. The last thing to plug in is the power cord. The Raspberry Pi does not have a power switch so if the power is connected, it's on. So do the power cord last. The order is not really that important for everything else. Just make sure you get everything:
- Micro SD card from the last step
- USB Keyboard and Mouse
- Ethernet cord (connect the other end to your router)
- HDMI cord (connect the other end to you TV or Monitor)

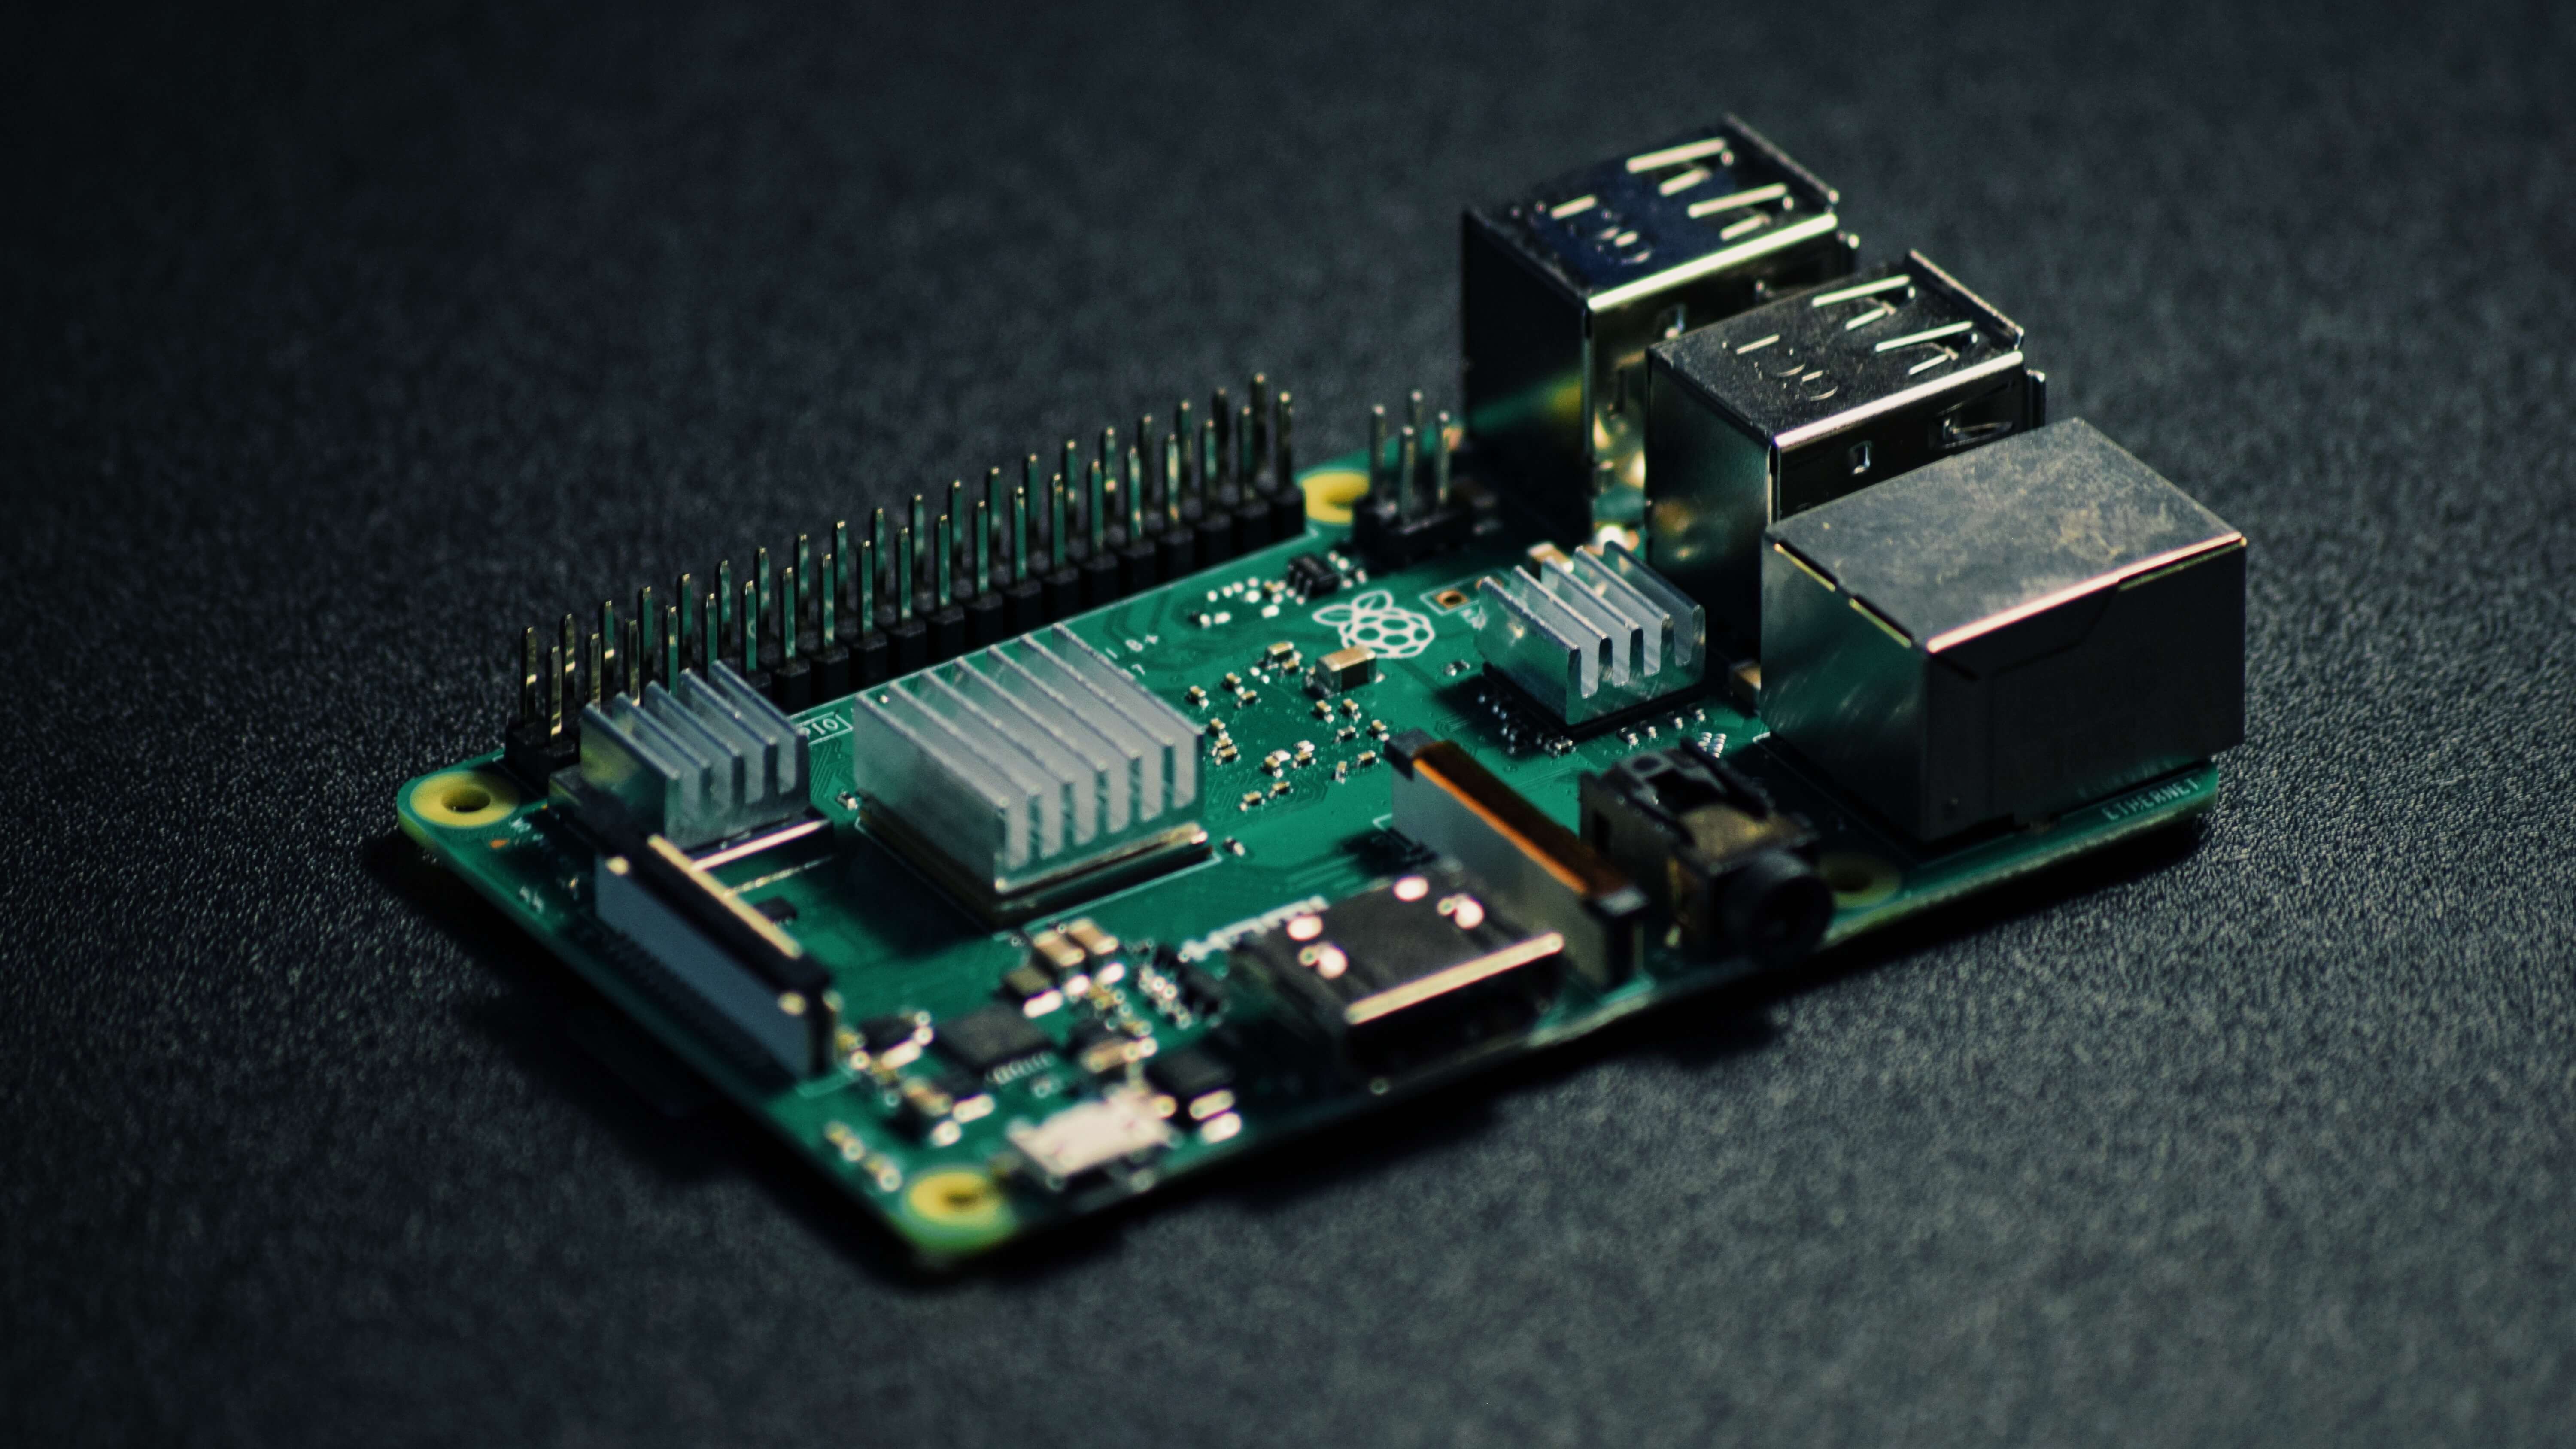
A RPI3 with interfaces labeled. A RPI4 will look slightly different but things are in the same places. This one has a case, which is not needed, but is pretty nice to have.
Once it's all connected, plug in the power and watch the magic.
It's Alive
You may see a rainbow screen for a brief second. After you should see the boot process flying by on the screen.
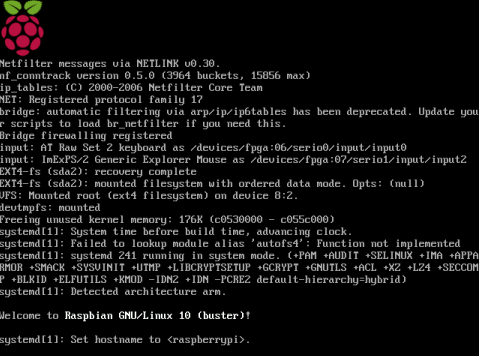
Once it finishes you should be dropped into a brand new shiny desktop.
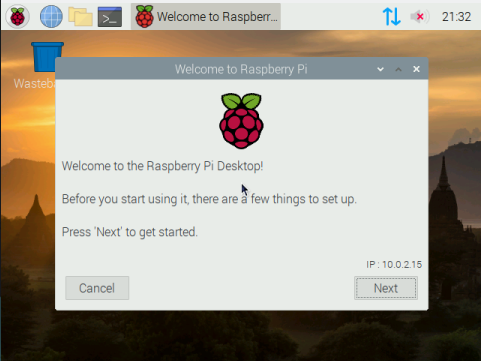
The world is now your oyster.